Our cute drawing tutorials take a classy twist today. Why? Because it’s time for top hat drawing: easy, cute cartoon line art instructions!
My name is Ms. Marshall, and I’m an artist and teacher who loves sharing ideas for simple, easy drawings. I hand-draw each and every illustration on this site, and my goal is to help you build confidence in your own creativity, because we don’t need to have perfectly straight lines and realistic sketches to create delightful art! On to the lesson…
Top Hat Drawing


First, a note: You may notice that all of my drawings have cute googly eyes in the middle to anthropomorphize them. As I explained with my wreath drawing tutorial, you can feel free to just leave those out, or make any other alterations you’d like to these instructions to make the resulting piece of art your own.
1. Start with the oval up top.
The tippy-top of the top hat is a central focus of the sketch, so start there. Once that’s in place, draw two vertical lines to create the “stovepipe” body of the hat, and close it with a bottom line that mirrors the bottom of the top oval. This is a similar shape and technique to our candle drawing.
As I explained with our graduation hat drawing, don’t worry if your lines aren’t perfect. We’re going for representation, not robotic perfection.


2. Add a brim and band.
Next, draw in a wider oval at the bottom for the brim. Some top hats have curved brims, and some are flat, but I’ve chosen the latter here because it’s simpler. Meanwhile, decorative bands are optional, but I like colorful art, and adding in the ribbon around the center offers a nice chance for a color “pop!”
A note about perfection. As I explained with our chef hat drawing, you’ll see that the lines of the curves are somewhat wobbly, because my hand is not a machine — it’s human. That’s ok!
3. Be creative with colors.
Speaking of colors — it’s time to color in our top hat! Now, I’ll give you the same advice here as I did with our bat drawing: although in reality, the thing we are sketching is usually black, we can absolutely spice things up by selecting a different dark color instead.
My personal favorite alternative to the color black, which I used here, is midnight purple: a rich, deep shade of purple made by mixing it with black! For the band, I chose a deep magenta color (what red and purple make), because it looks pleasing with the body’s color, and has a regal feel.
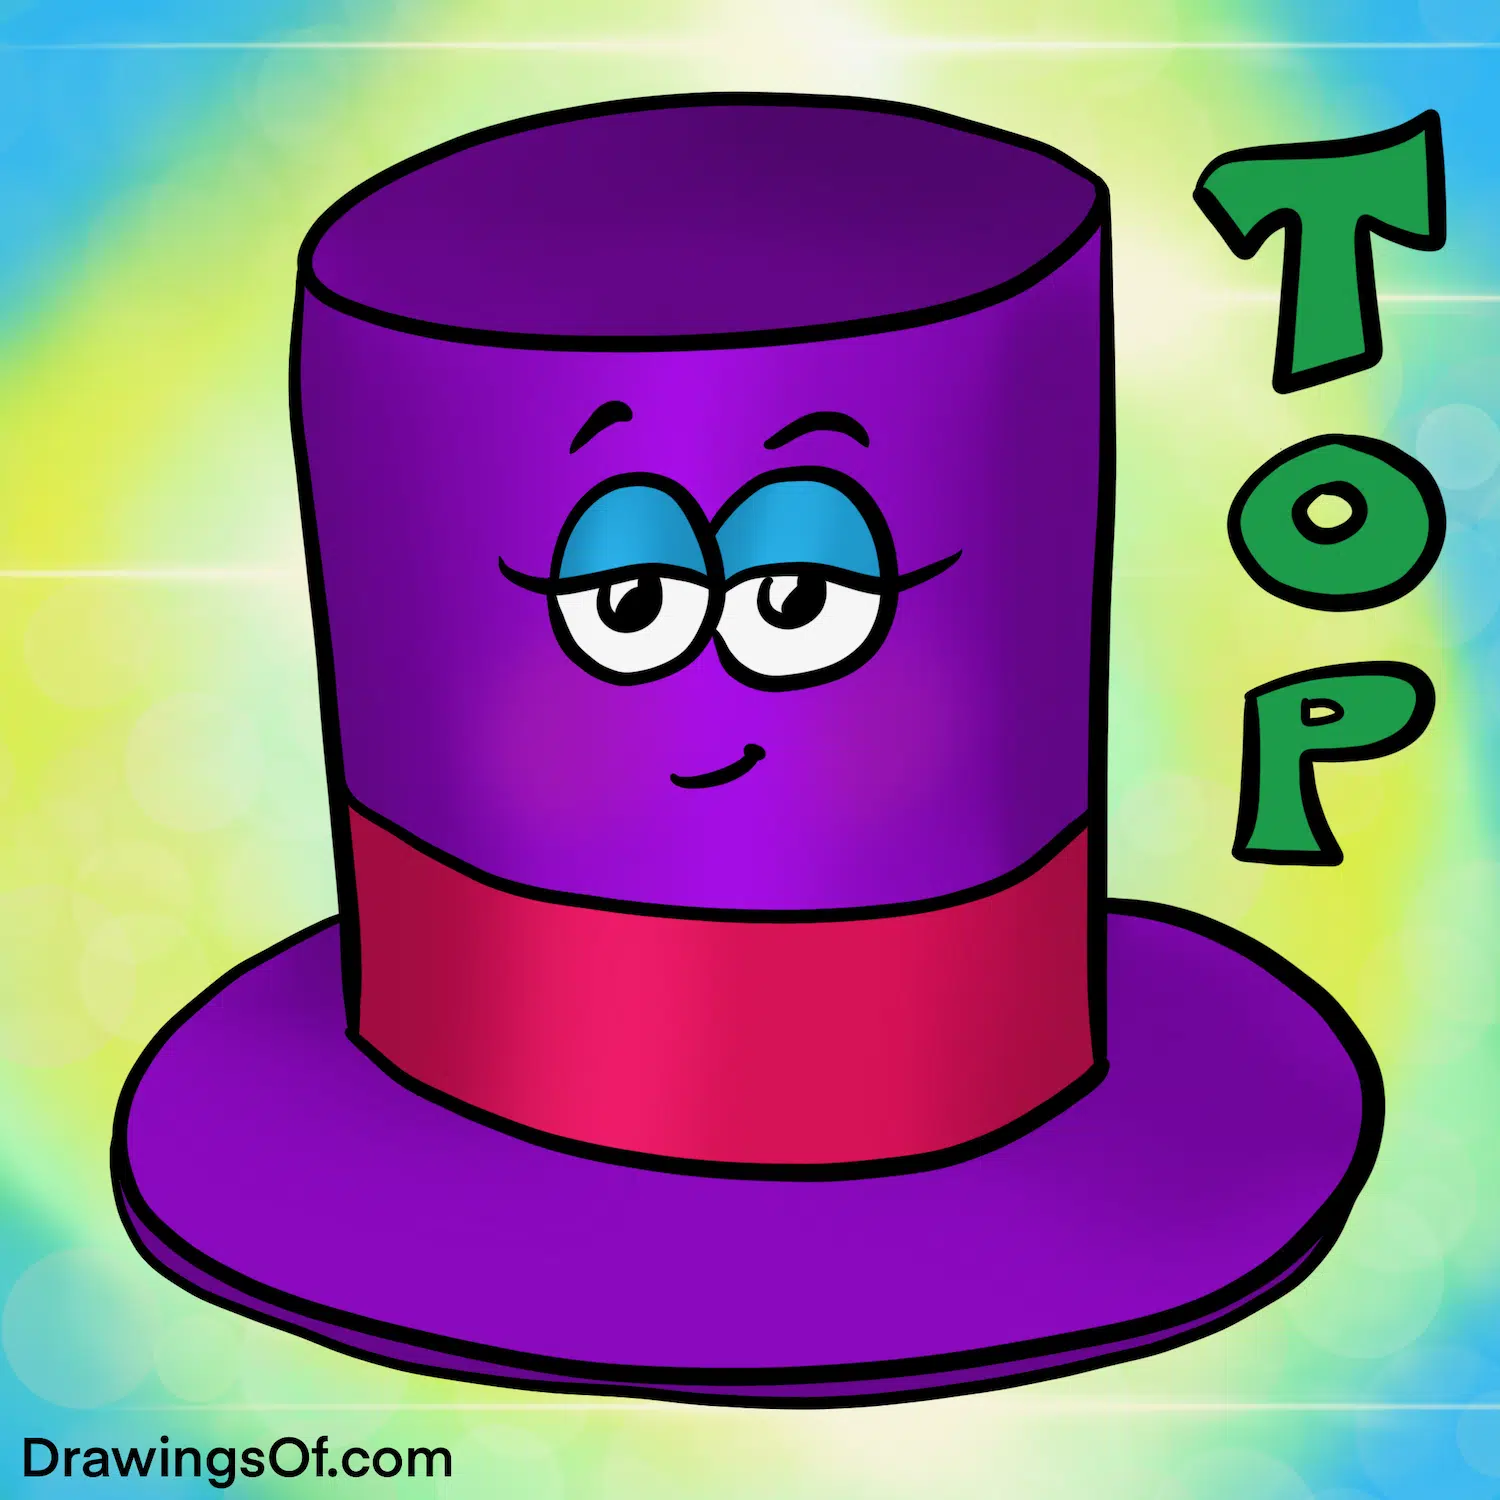

4. Have a classy or magical background, and add shading and highlights.
Because top hats are associated with riches, class, and magicians, I would suggest decorating your background to reflect at least one of those elements. Further, to make your drawing stand out, consider using complementary colors to the ones you added to the main image.
For example, the opposite of purple in the RYB color wheel is yellow, so I made sure to incorporate that in back. Now add in darker shading around the sides of the hat and lighter highlights in the middle to create a three-dimensional effect, and your drawing is complete!
Top Hat Drawing, in Sum
I hope this top hat drawing tutorial has been useful and fun. If you want more hat sketching love, check out my winter hat drawing lesson, and feel free to request what else you’d like me to teach how to create!
Want more fashion art activities? Check out my free downloadable dress coloring pages to print out and color, as well as my big round-up of how to draw hats of different types…

The author and artist, Lillie Marshall, is a National Board Certified Teacher of English who has been a public school educator since 2003, and an experienced Reiki practitioner since 2018. All art on this site is original and hand-drawn by Lillie. She launched DrawingsOf.com Educational Cartoons in 2020, building upon the success of her other sites, AroundTheWorldL.com (established 2009), TeachingTraveling.com (founded 2010), and ReikiColors.com. Subscribe to Lillie’s monthly newsletter, and follow @WorldLillie on social media to stay connected!