What would our Christmas drawings be without learning how to create an ornament drawing? In this tutorial, I’ll discuss easy methods in a cartoon line-art style.
As background, I’m an artist and teacher named Ms. Marshall who loves cozy winter drawing ideas! I hand-draw each and every one of the illustrations on this site, and I hope they help share joy. Let’s begin…

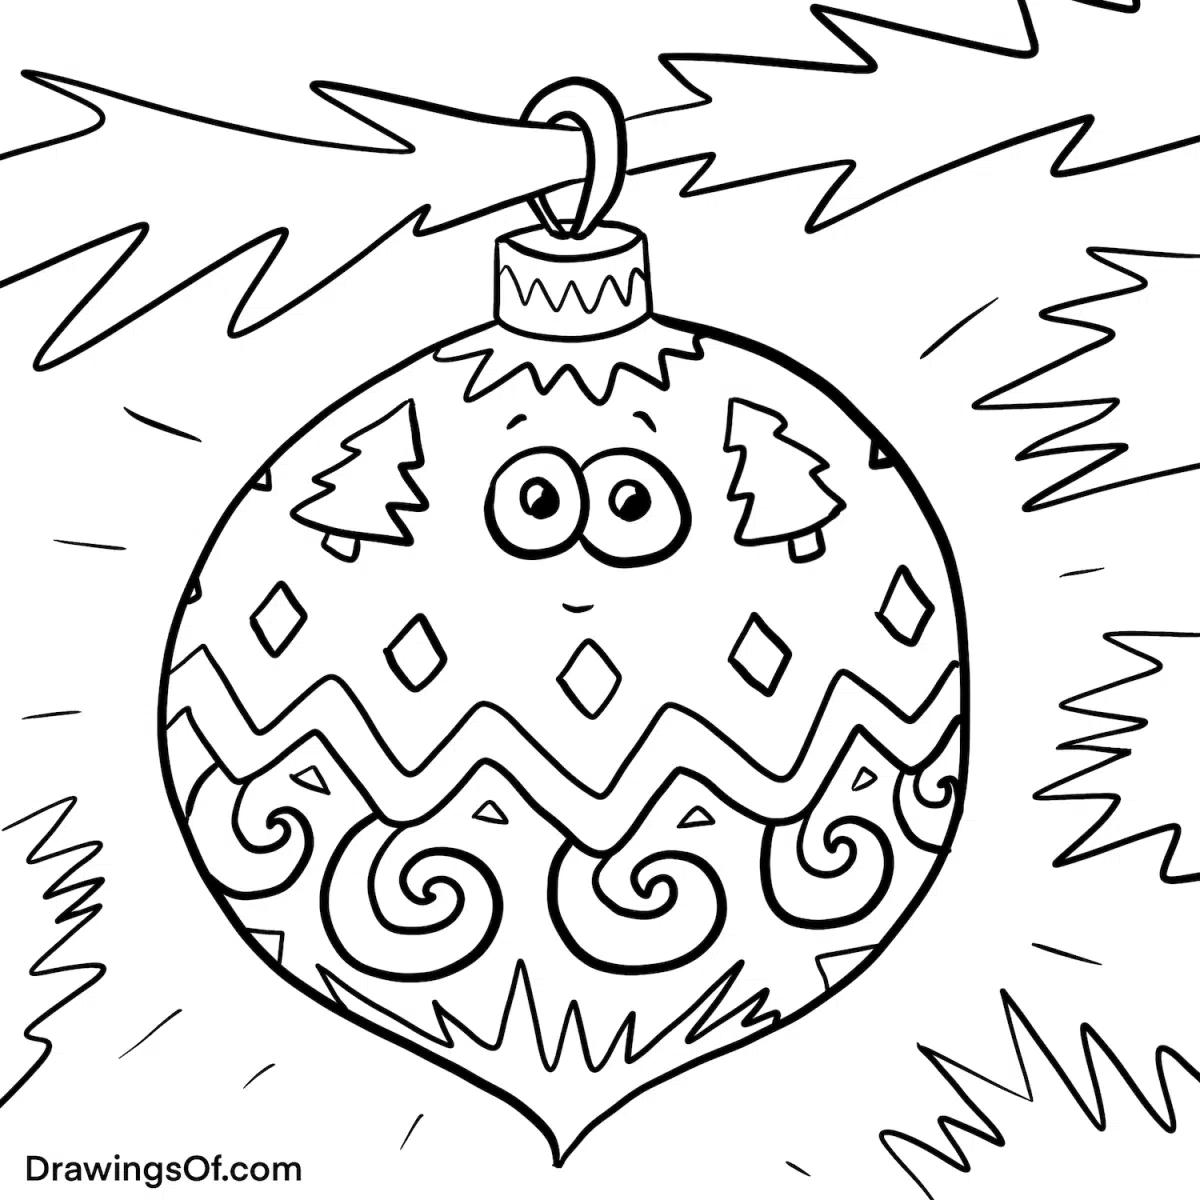
Ornament Drawing
As I explained with our reindeer drawing, please feel free to alter any part of this lesson to suit your own artistic desires. Part of creativity is about having confidence in your own unique style!
1. Consider not-spherical shapes.
Though Christmas ornaments are most traditionally depicted as perfect spheres, if we are hand-sketching this piece of art, it’s difficult to make a perfect circle. Sure, you can trace the bottom of a cup, but to take some of the pressure off and also add interest, consider alternative shapes to a sphere!
For example, you can choose the sort of radish or onion-shape I chose here, or a candy cane or tree shape for your ornament. Just make sure sure to feature curved lines — not sharp and straight — since ornaments are traditionally made of blown glass.

2. Pencil in curve guidelines for our ornament drawing.
This tutorial bears some striking resemblances to our easter egg drawing. Namely, sketching erasable curved guidelines in pencil, early in the drawing process, is a huge help in figuring out where to draw the decorations to create a three-dimensional effect. (See my art-process video, below, for how this looks in action.)
3. Remember the top loop.
A key feature of an ornament is the loop at the top to hang it off the Christmas tree, so don’t forget that! You can also sketch in spiky branches in the background to indicate the tree.

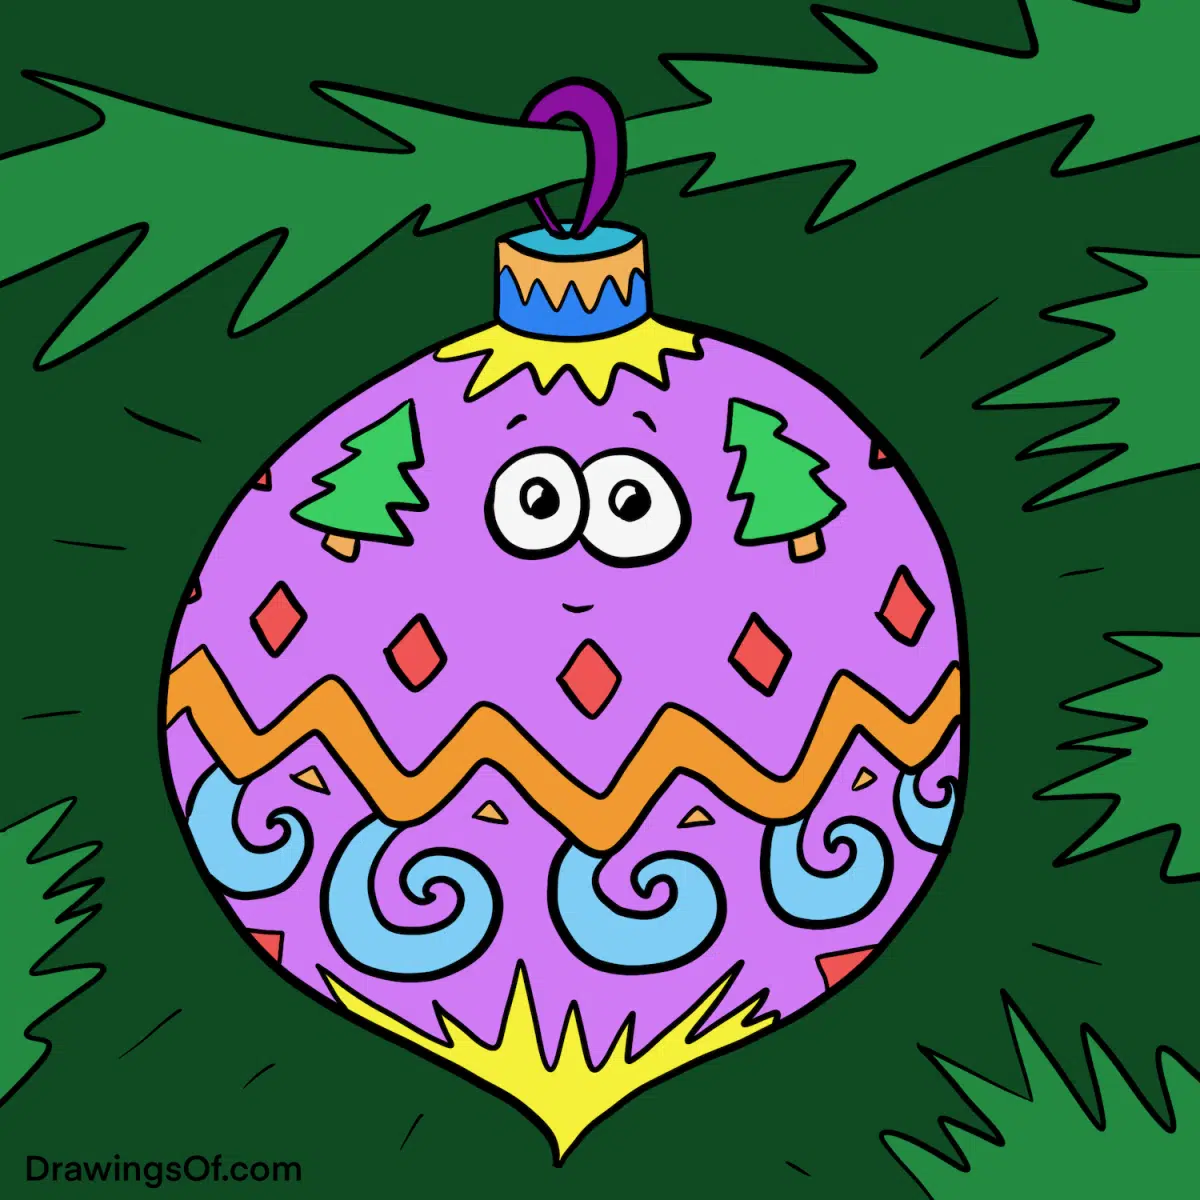
4. Add festive decorations and colors.
Once you’ve added exciting decorations for your ornament (I chose diamonds, zig-zags, trees, stars, and swirls), it’s time to add color! Since I’d already used the classic red and green for our Christmas stocking drawing, I decided to use purple, orange, yellow, pink, and sea-foam colors instead, as a unique riff on that. Because the background will be a dark green tree, make sure your ornament colors are light and different enough to stand out in the foreground.
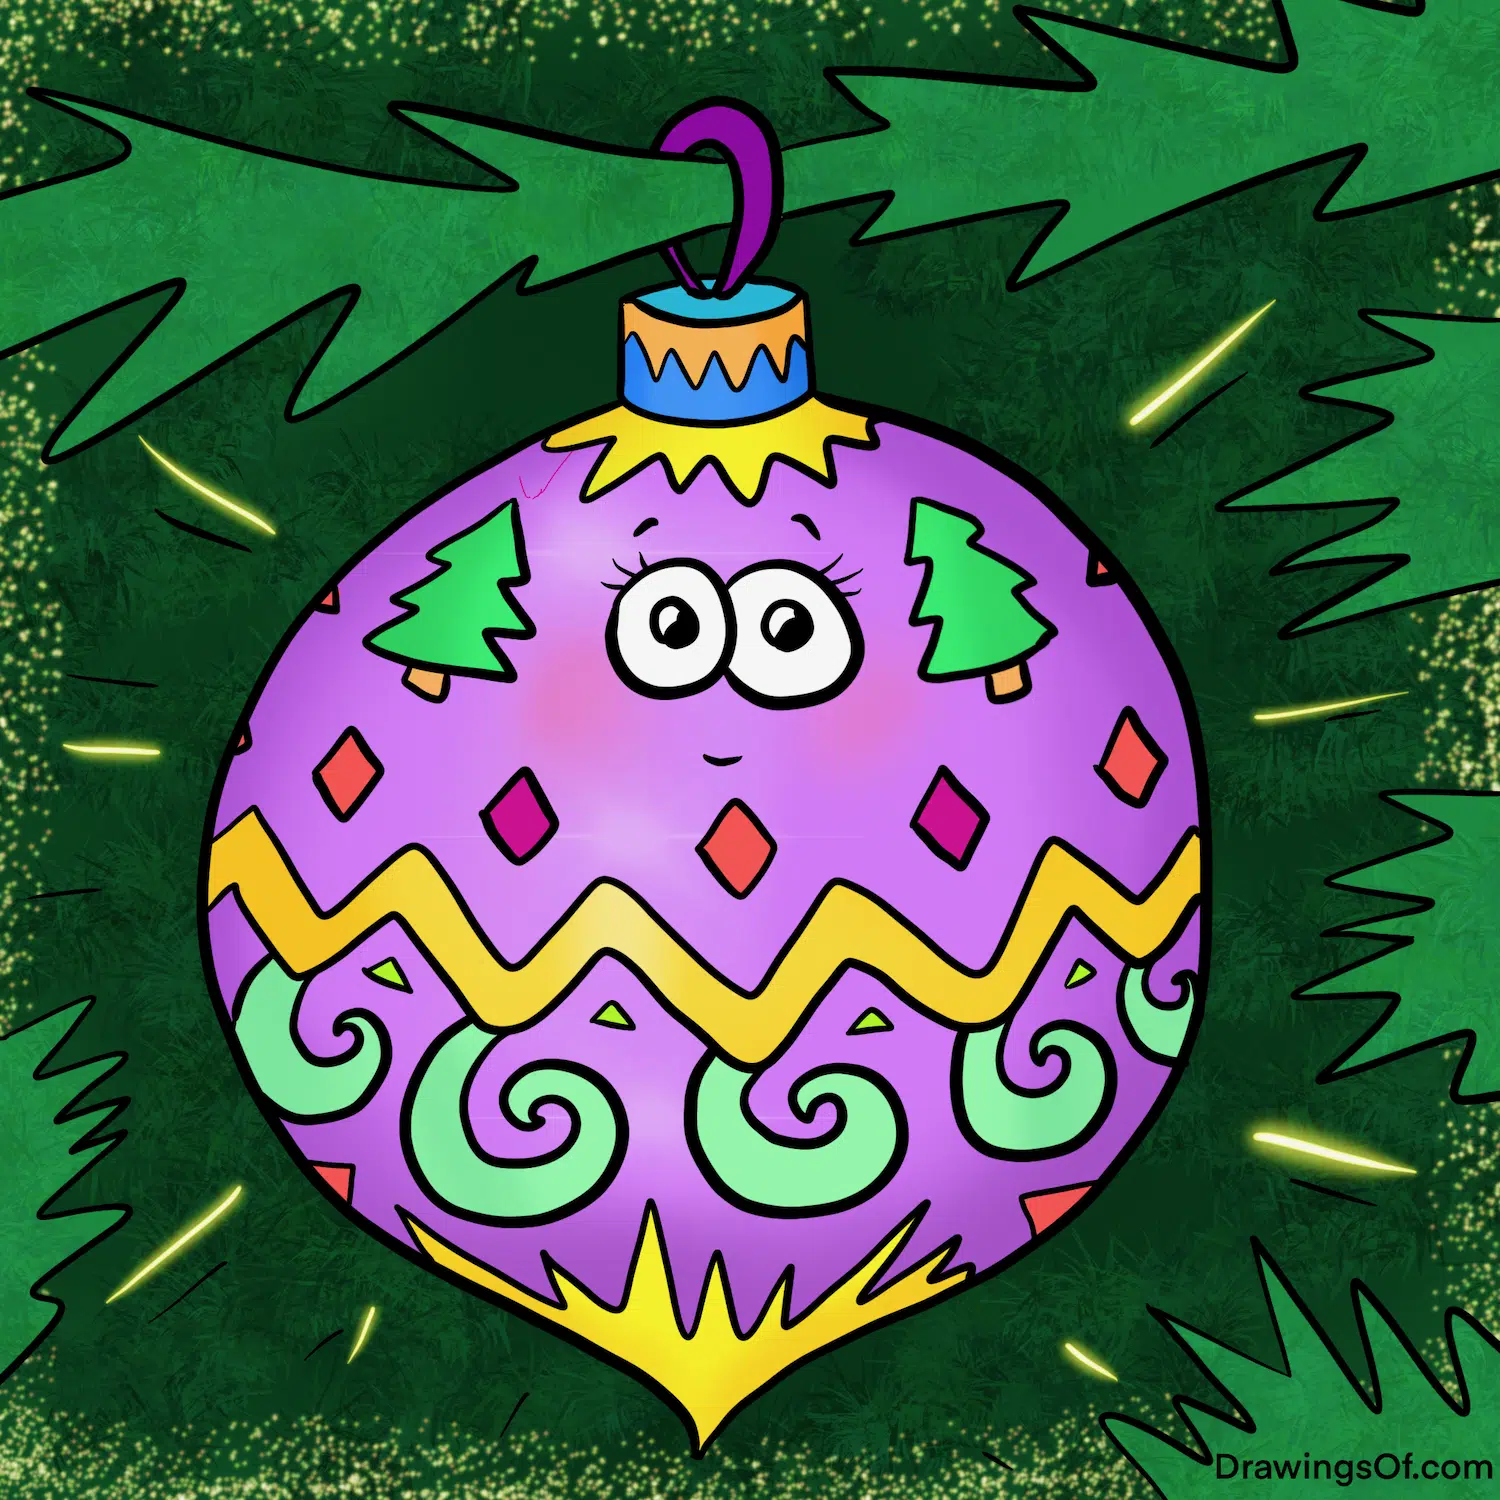
5. Put in shading and highlights.
As we saw with our snowman drawing, adding darker shading around the sides and lighter highlights in the middle is the essential key to making something look round. Since ornaments are often shiny, you can really go wild with the highlights. Congrats — you’re done! Now let’s see the time-lapse video.
Ornament Drawing, in Sum
I hope this Christmas ornament drawing lesson has been joyful. If you want more, check out my holly drawing tutorial. Do feel free to let me know what else you’d like me to illustrate and teach. Happy holidays!
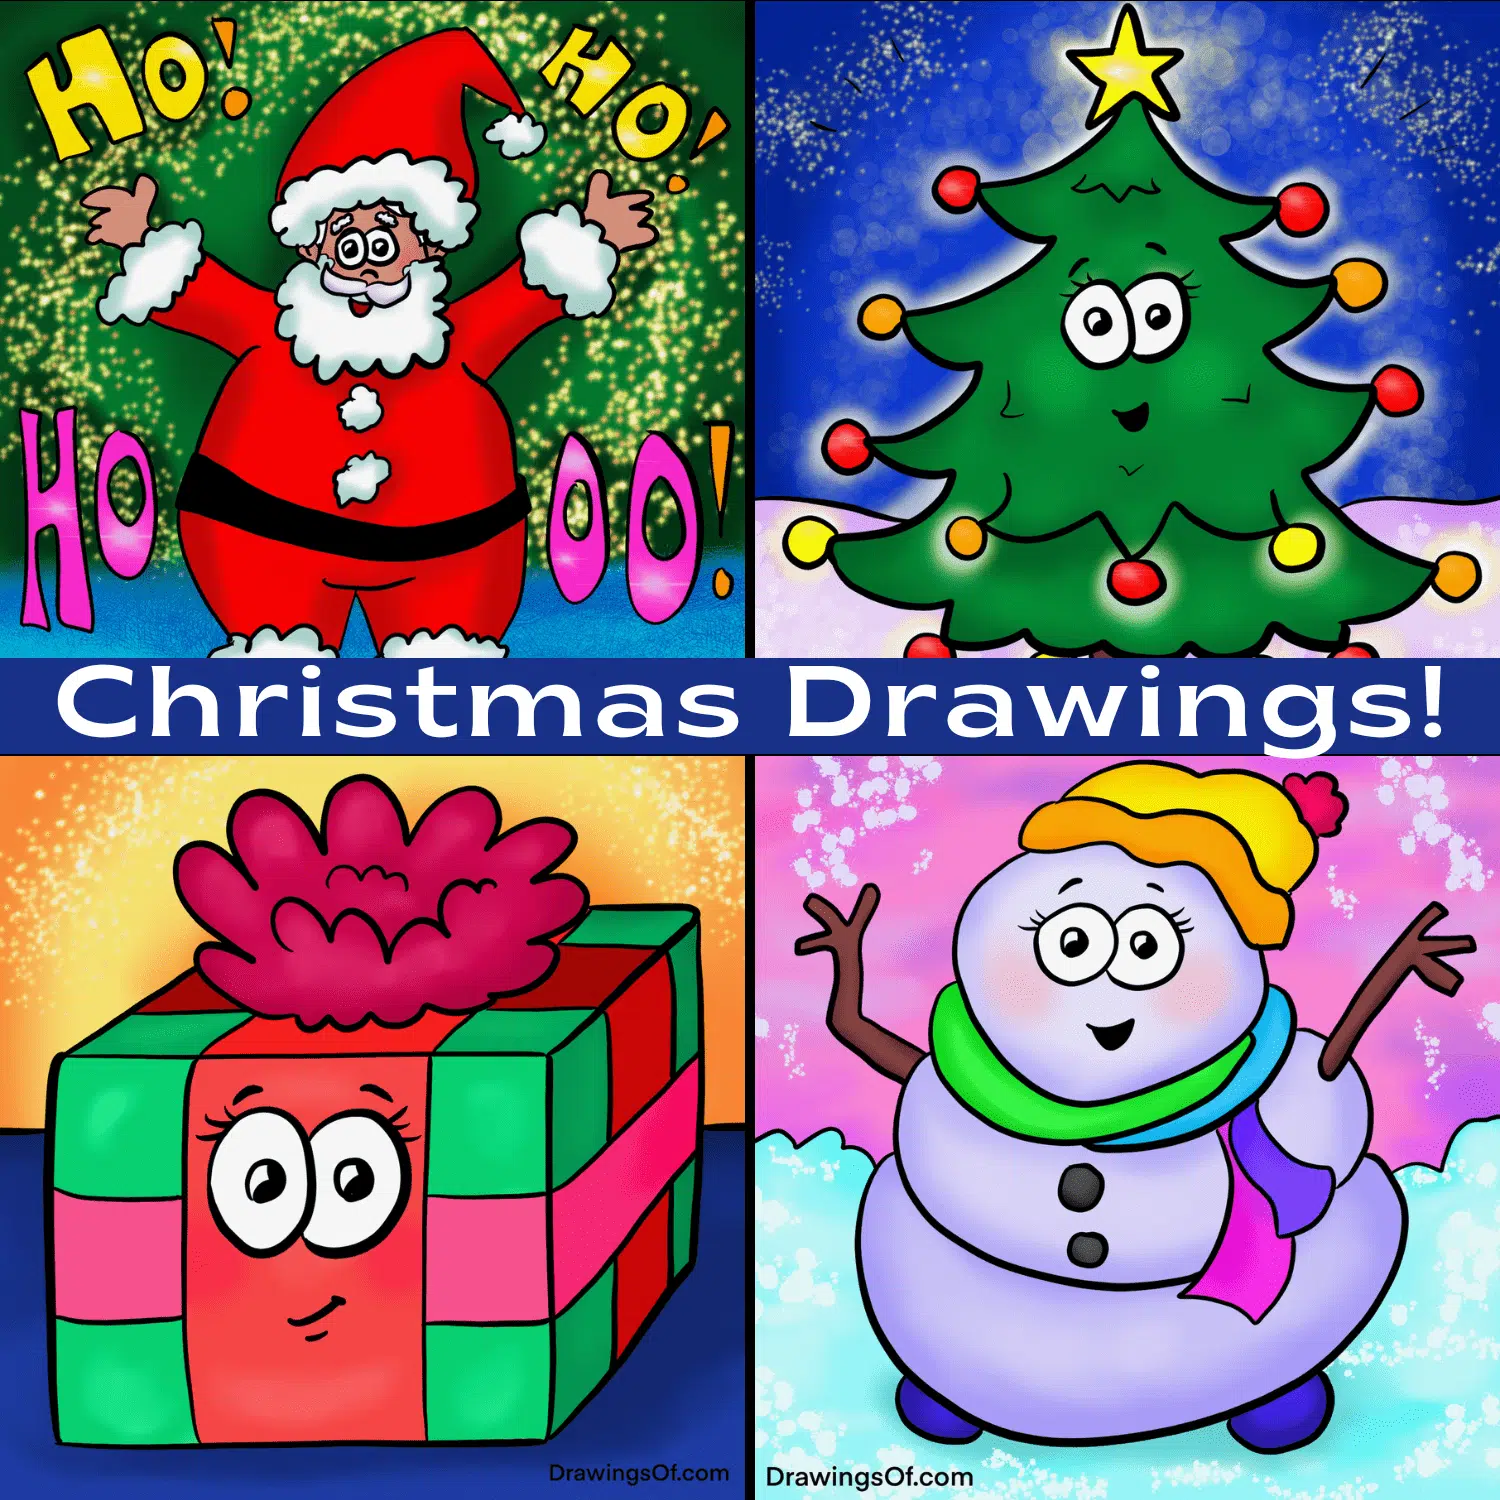
Want more? Check out the links below for my big round-ups of all my holiday drawing tutorials and free printable Christmas coloring pages! Easy, fun activities for kids AND adults.

The author and artist, Lillie Marshall, is a National Board Certified Teacher of English who has been a public school educator since 2003, and an experienced Reiki practitioner since 2018. All art on this site is original and hand-drawn by Lillie. She launched DrawingsOf.com Educational Cartoons in 2020, building upon the success of her other sites, AroundTheWorldL.com (established 2009), TeachingTraveling.com (founded 2010), and ReikiColors.com. Subscribe to Lillie’s monthly newsletter, and follow @WorldLillie on social media to stay connected!