Candy Drawing: Easy Instructions
Looking for instructions on how to make an easy candy drawing? Perhaps this is part of your Halloween drawing ideas search, or perhaps you just want some cute cartoon line art inspiration. Either way, you've come to the right place!
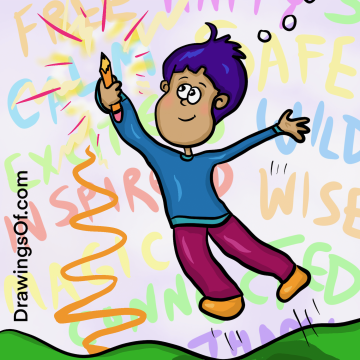
My name is Lillie, and I'm an artist and teacher who adores giving simple, hand-drawn creative lessons for all ages -- often with a surprising nontraditional twist. For example, recently we learned how to draw a spider web... except we added rainbow colors! Ready for today's sweet drawing?

Candy Drawing
Before we launch the instructions, do remember that the key with creative drawings is to have confidence in yourself to change instructions to fit the kind of art YOU want to make. My steps below are merely suggestions!
1. Draw a circle for the "head" of the candy, then add eyes and a smile.
As with our easy, cute spider drawing, we're simplifying things by making the head and body one simple circle. I recommend a kind, welcoming expression for your hard candy drawing. This sweet is excited to be eaten!
2. Sketch the "arms" of the twisted wrapper.
To indicate the sides of the candy wrapper -- which also double as the "arms" of our personified candy (that's a type of figurative language), sketch two sideways triangles on either end of the head/body, and add some zig-zags (that's an onomatopoeia example) for crinkles in the foil.
3. Add contrasting color to the candy drawing and background.
Pick a cheerful color for your hard candy wrapper, and use a very different color in the background so the two shades are juxtaposed with nice contrast, and don't blend together. I opted for a lighter version of the midnight purple shade that I used in our cute bat drawing.
(Side note: Into history? Check out a fascinating history of candy in the Encyclopedia Brittanica!)
4. Put in shading and highlights.
The key to making your candy drawing look three-dimensional is shading the bottom and sides with darker versions of the wrapper color, and adding highlights at the top to show glinting light and curves. (We used a similar technique with our witch hat drawing.)
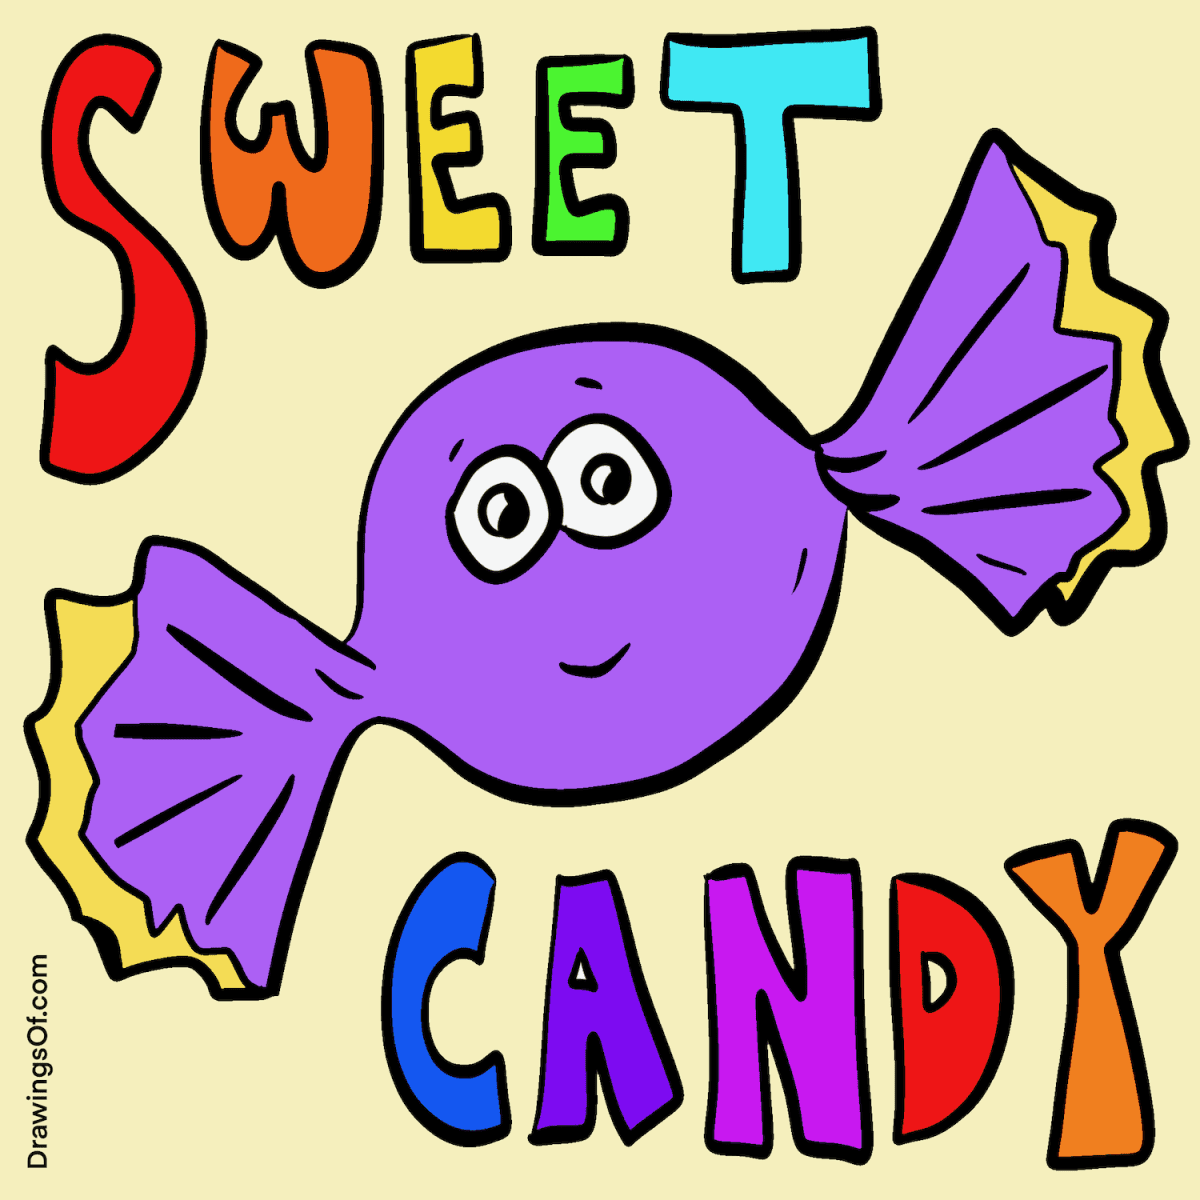
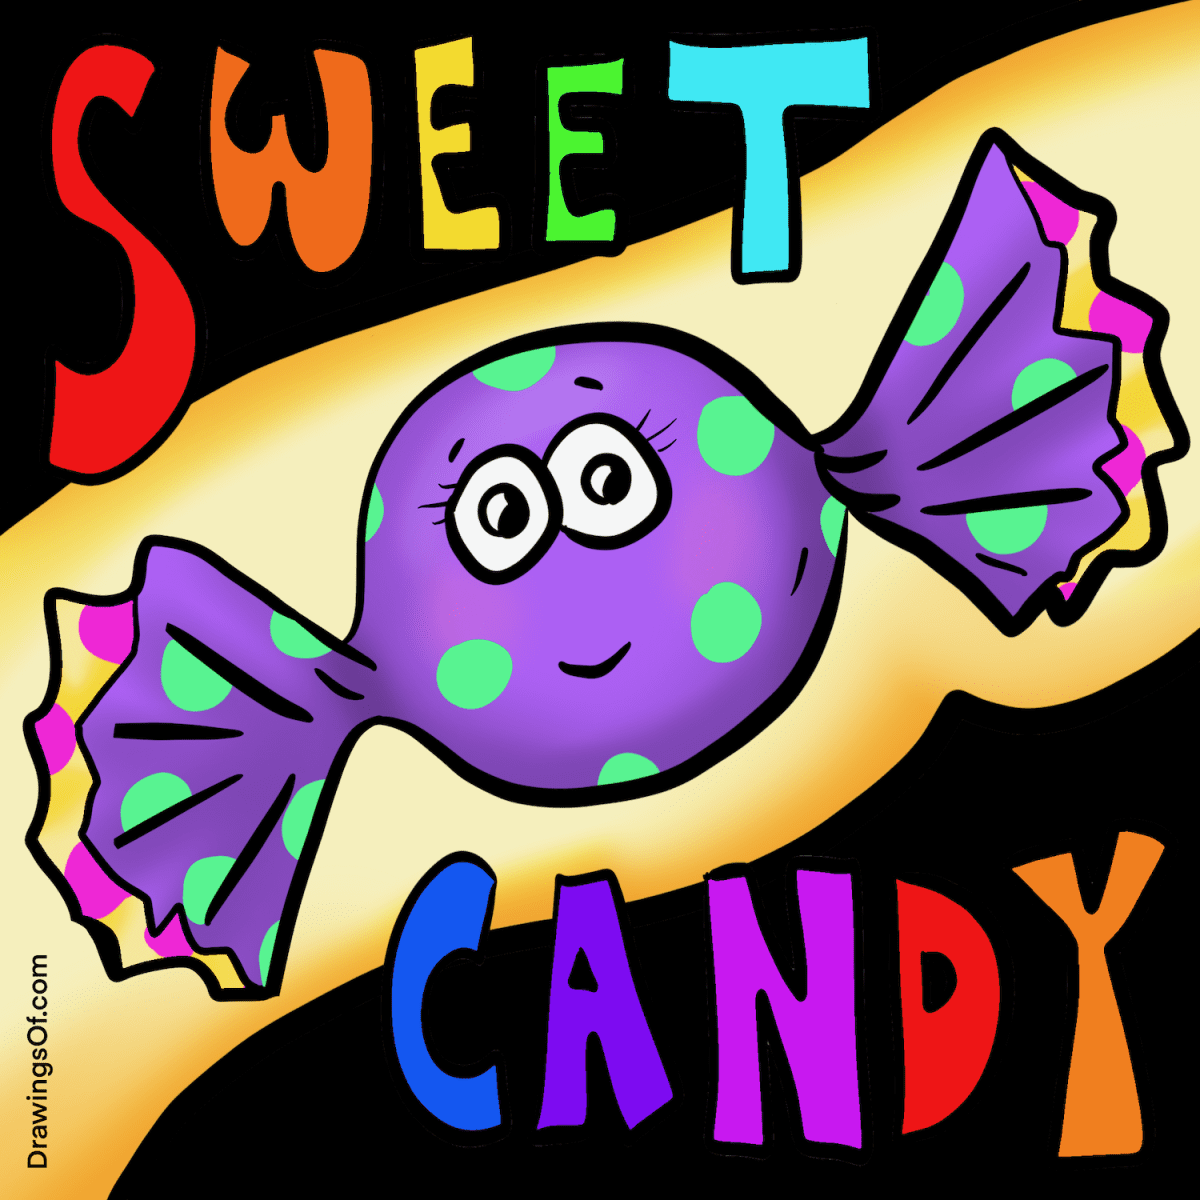
My son (who was looking over my shoulder as I was drawing these illustrations) also urged me to add some decorative polka dots on the wrapper, and I agree with him that those add some fabulous flair! Ready to see the completed candy drawing? Here you go...
Spell Sweetest
As an English teacher, I can't help inserting a little spelling lesson into this candy art tutorial. Many of my students over the years have had trouble spelling "sweetest" because it sounds like the word should be written "sweetist" with an "i" instead of an "e."
The correct way to spell "sweetest," however, is SWEET-EST (with an "est" at the end). One way to remember this is that the "est" is a suffix used to form superlatives (things that are the most or the biggest). Another way to remember to use an "e" instead of "i" is that the former letter looks more like a sweet candy circle!
Candy Drawing, in Sum
I hope this candy drawing tutorial has been enjoyable as well as useful. If you want more Halloween-themed art lessons, check out my instructions for how to create a cute, easy pumpkin drawing!
Want more? Learn how to draw specific sweets in my candy cane drawing tutorial, and check out how to create a cake drawing...

The author and artist, Lillie Marshall, is a National Board Certified Teacher of English who has been a public school educator since 2003, and an experienced Reiki practitioner since 2018. All art on this site is original and hand-drawn by Lillie. She launched DrawingsOf.com Educational Cartoons in 2020, building upon the success of her other sites, AroundTheWorldL.com (established 2009), TeachingTraveling.com (founded 2010), and ReikiColors.com. Subscribe to Lillie's monthly newsletter, and follow @WorldLillie on social media to stay connected!